
Using VR for off-line programming of robots
Some robot systems must constantly run with new workpieces. It could, for example, be a robot that acts as a loader on a CNC milling machine that is used to make small series. In such a case, it is necessary to reprogram the robot every time the milling machine has to run a new production series. If you have to stop the system every time to redo teach in programming, it becomes unprofitable.
In such a situation, it can be an advantage if you can reprogram the robot using a standalone PC. This is called offline robot programming as it can be run completely without having a connection to the robot. This offline programming tool can then simulate the process on the PC screen.
It can also be an advantage to use off-line robot programming if the movements the robot has to make are very complex. You can also use the simulation function as a sales presentation.
There are several programs for offline programming of robots, some of which have been developed by the individual robot manufacturers and only work on one robot brand. But there are also others that have been developed for use on many different brands. RoboDK is one such program.
A little about Robo DK
RoboDK is an offline programming and simulation software for industrial robots. The simulation software can be used for many manufacturing projects including milling, welding, pick and place, packaging and labelling, palletizing, painting, robot calibration and more.
RoboDK has a library of over 500 robots from more than 50 different manufacturers including ABB, Fanuc, Kuka, Motoman , Hwashi Robots and Universal Robots.
When you need to define realistic robot cells in RoboDK , you can import partial elements drawn in CAD. Different types of files can be imported including step and iges files.
RoboDK post processors allow for programs to be exported to an actual robot including, ABB Rapid (mod/ prg ), Fanuc LS (LS/TP), Kuka KRC/IIWA (SRC/java), Motoman Inform (JBI), Universal Robots ( urscript ), Hwashi (C ++ ), Kawasaki (Python and C ++ ) and more.
Our solution
We have made a small demonstration of the use of off-line programming a UR robot using RoboDK
The result can be seen in the two videos below:
How we made it work
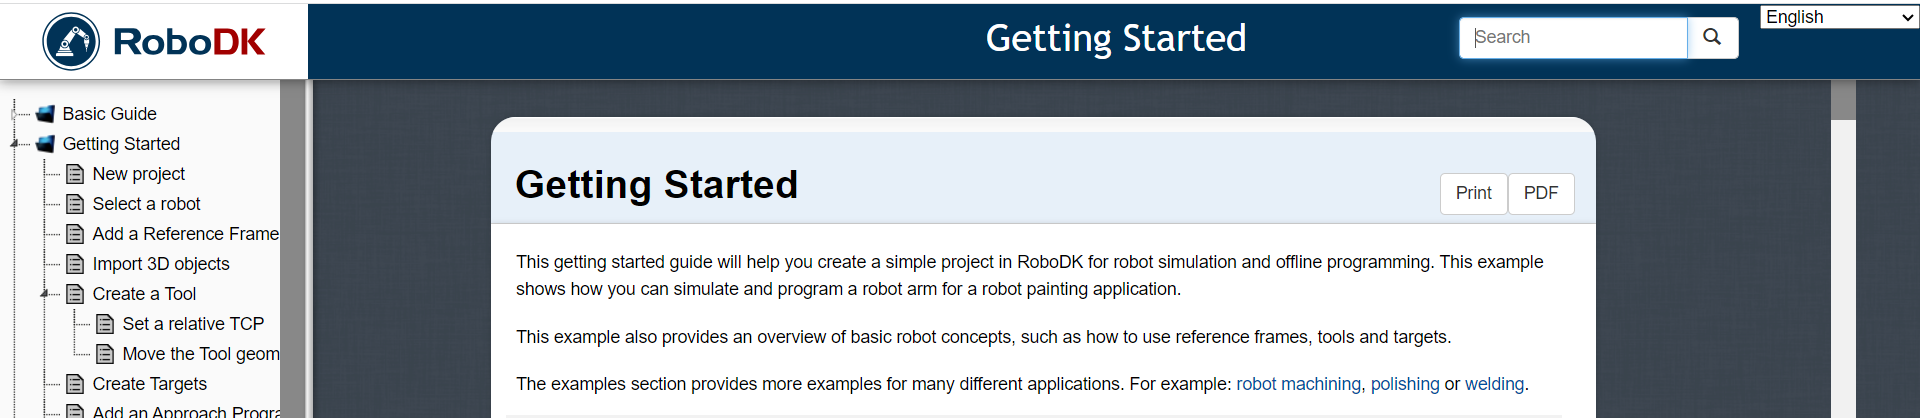
What we did was first follow roboDK’s own Getting started guide
https://robodk.com/doc/en/Getting-Started.html#Station
Tool and table import
We chose a UR5 Universal Robot just like the robot we actually had. In addition, we imported two CAD files saved in .STEP format. One CAD file was a drawing of the table on which the robot is mounted. The second is a CAD drawing of the pen holder that forms the robot’s tool.

Test program and TCP
Then we made a simple test program to test whether we had positioned the robot’s coordinate system and set up TCP correctly. We didn’t have that. So we did a series of systematic experiments to find a solution that worked.
(Help on how to transfer a RoboDK program to a Universal Robot see section below.)
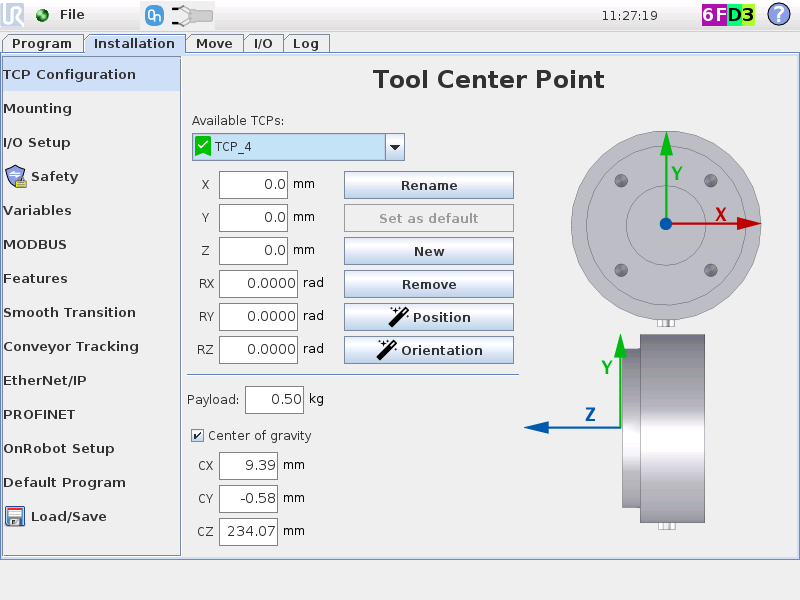
We concluded that what worked best was to use the robot to measure TPC data for our tool.
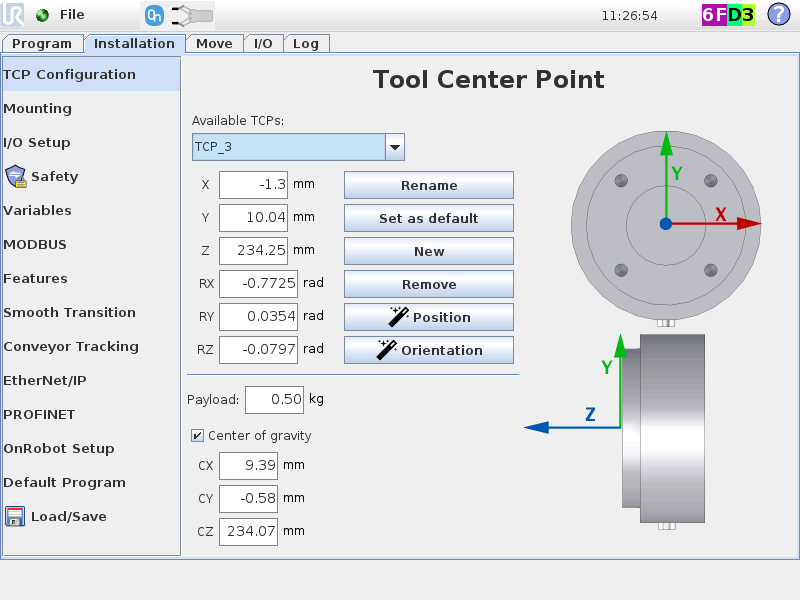
We entered this data in RoboDK’s TCP setup.
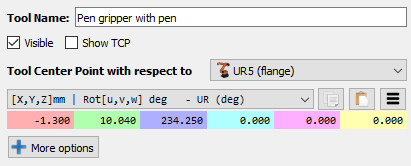
After that, we set the robot to use a TCP located in its flange. And with a tool orientation there Z+ upwards. After this, it is RoboDK that controls TCP
After these setups and tests, we knew that the positions indicated in RoboDK were the same as those in the physical Universal Robot
Transfer program from RoboDK to Universel Robot
Then we made the targets for the smiley in RoboDK and then we chained them together in a program.
We then had RoboDK generate the Robot Program.
Here it is important to choose the post processor called Universal Robots URP. The program is saved on a USB and then opened on the robot, from where it can be executed.
Se manual for procedure
https://robodk.com/doc/en/Robots-Universal-Robots.html

Using VR together with RoboDK
In the introduction, we said that VR can also be used together with RoboDK. This video shows an example of how to use VR on our small setup.
To succeed with this, you must have VR glasses that work, and you must have SteamVR installed on your PC, this is done through Steam. Then follow the manual below.
https://robodk.com/doc/en/Virtual-Reality.html#VR
